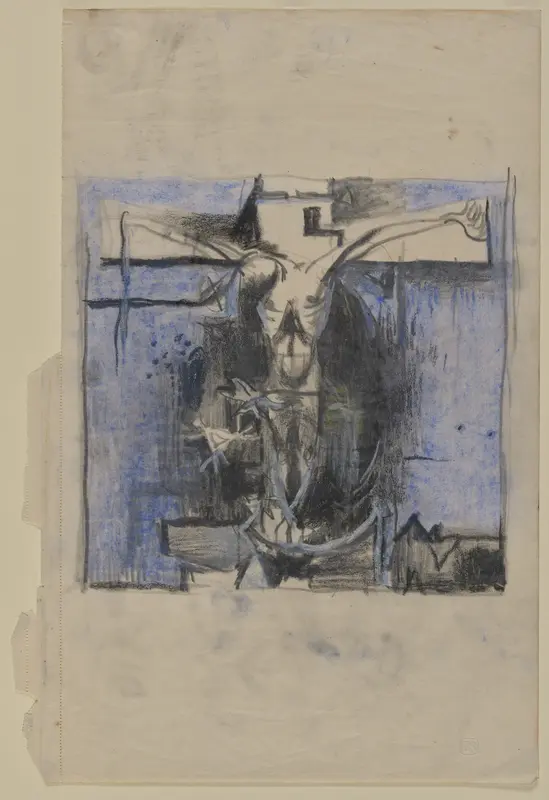
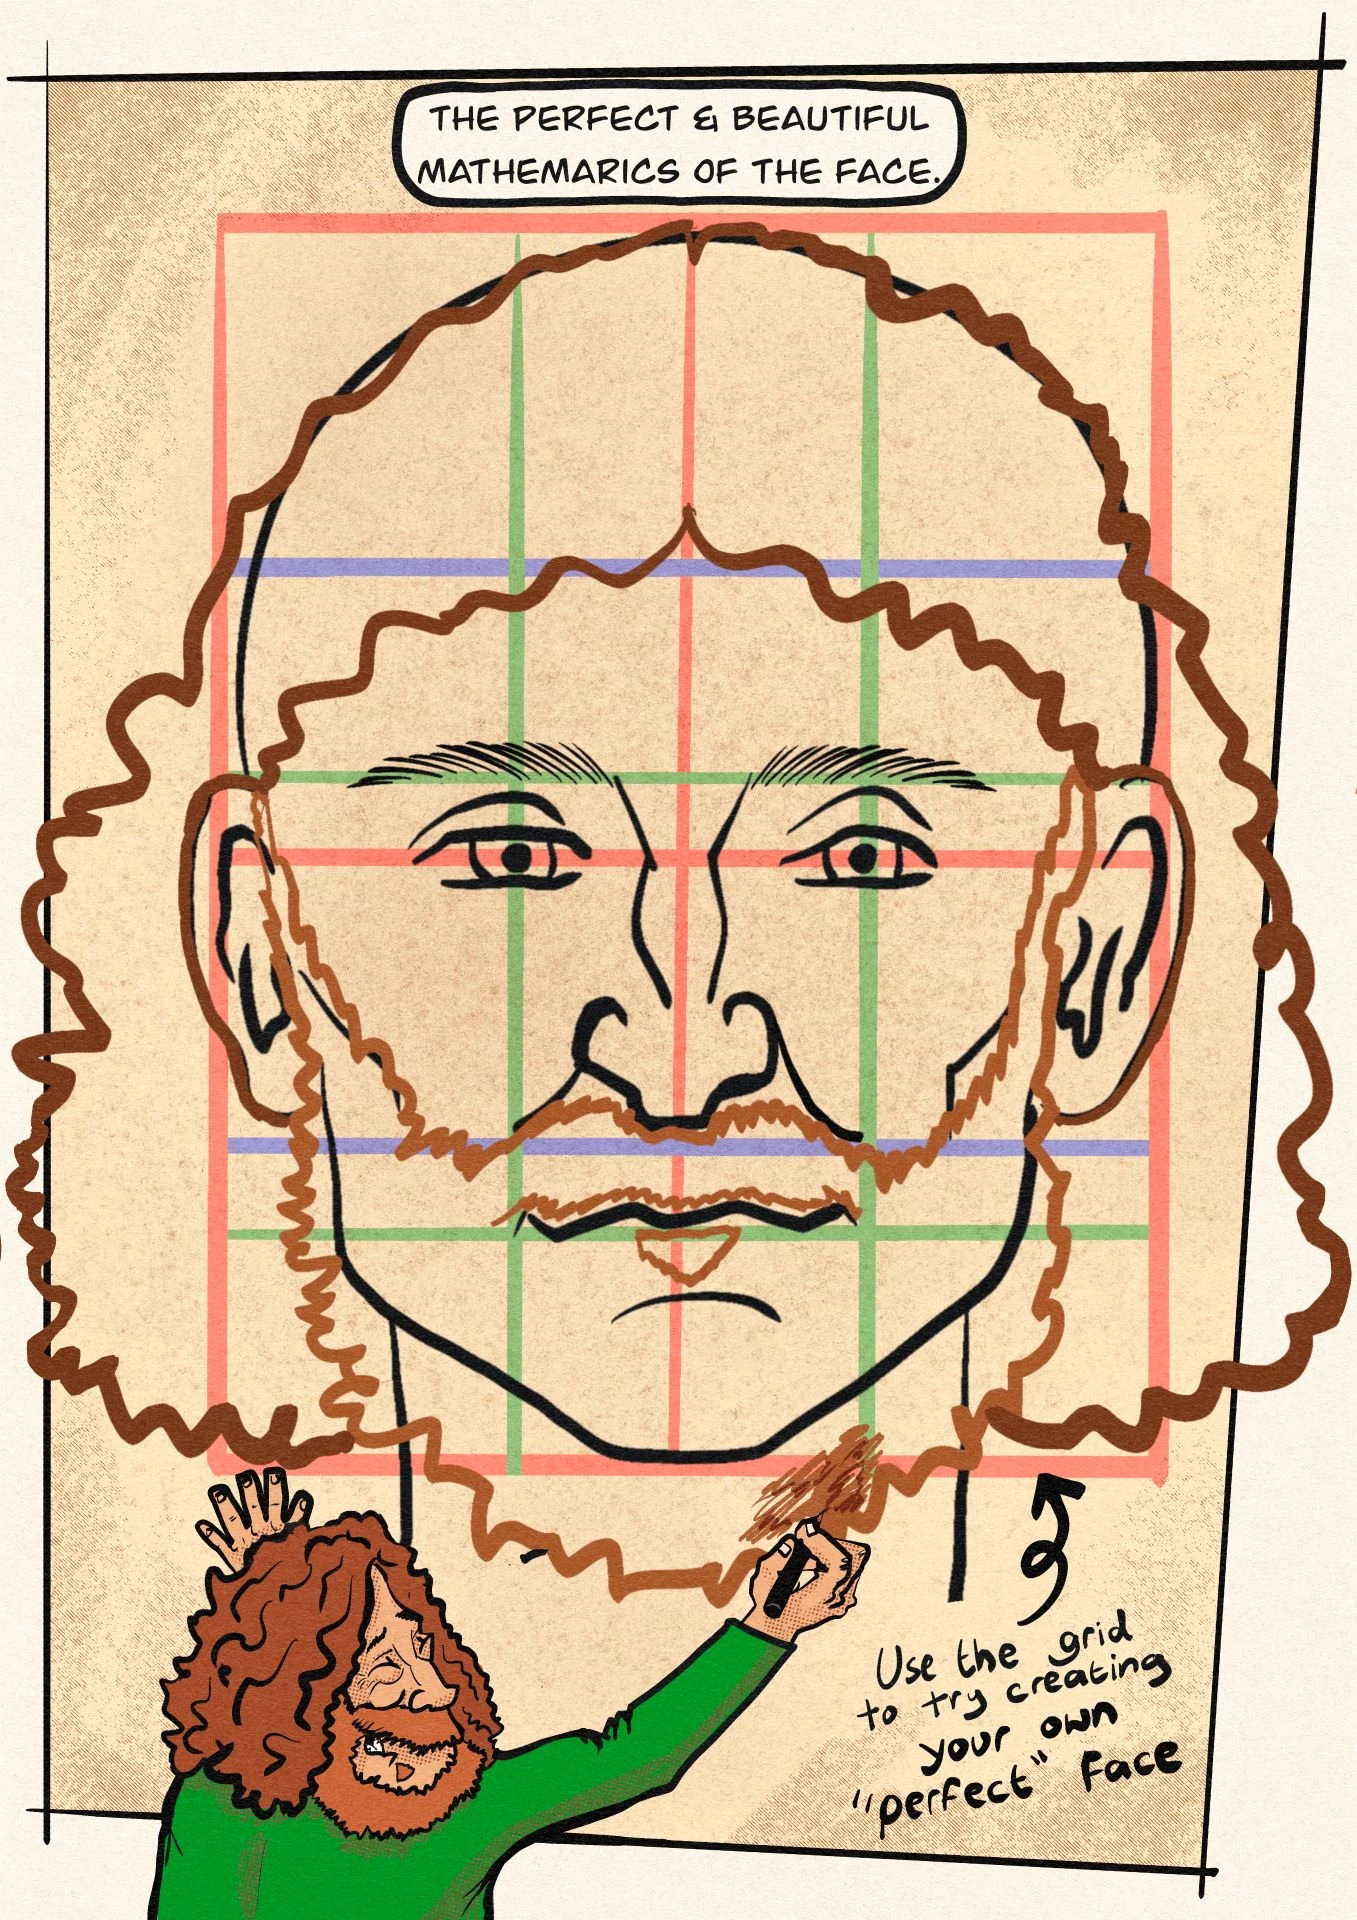
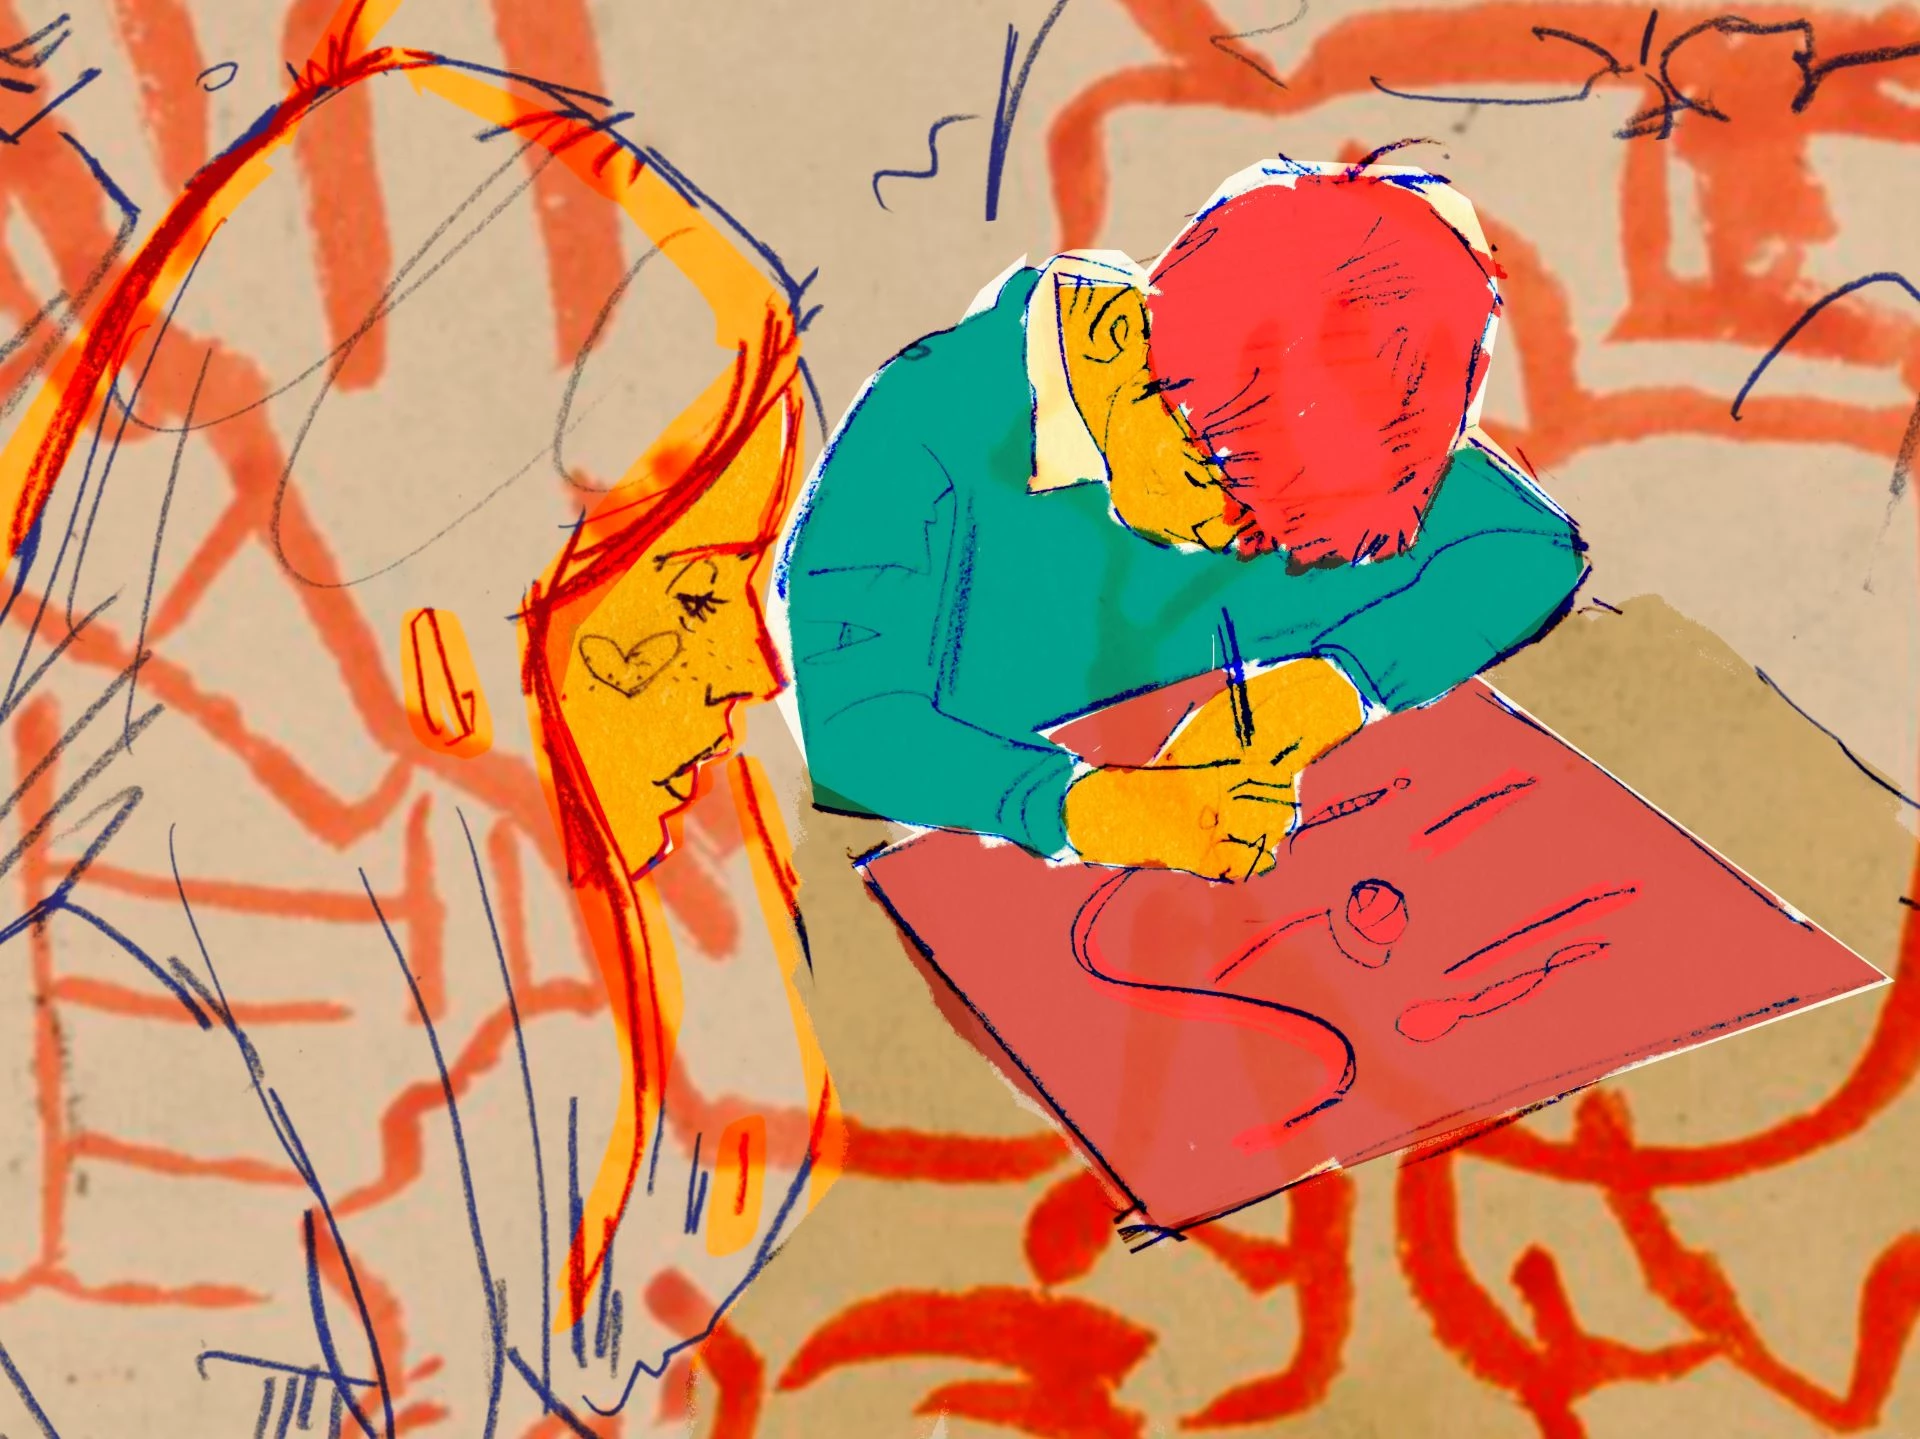
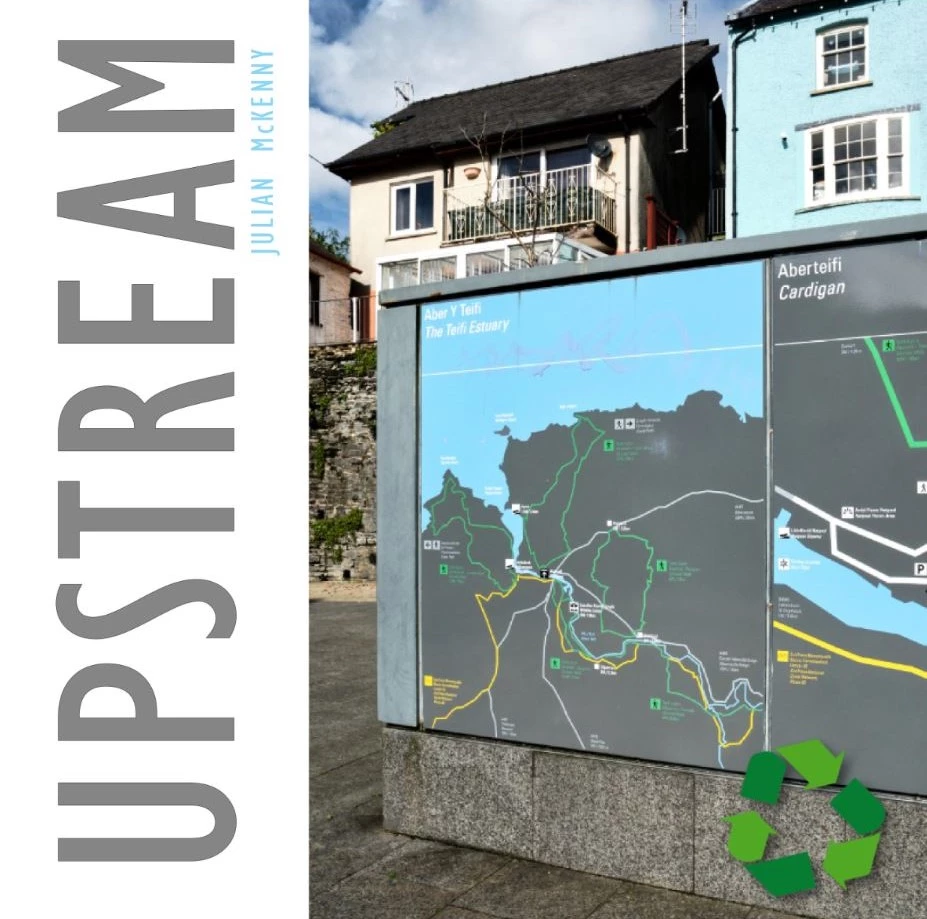
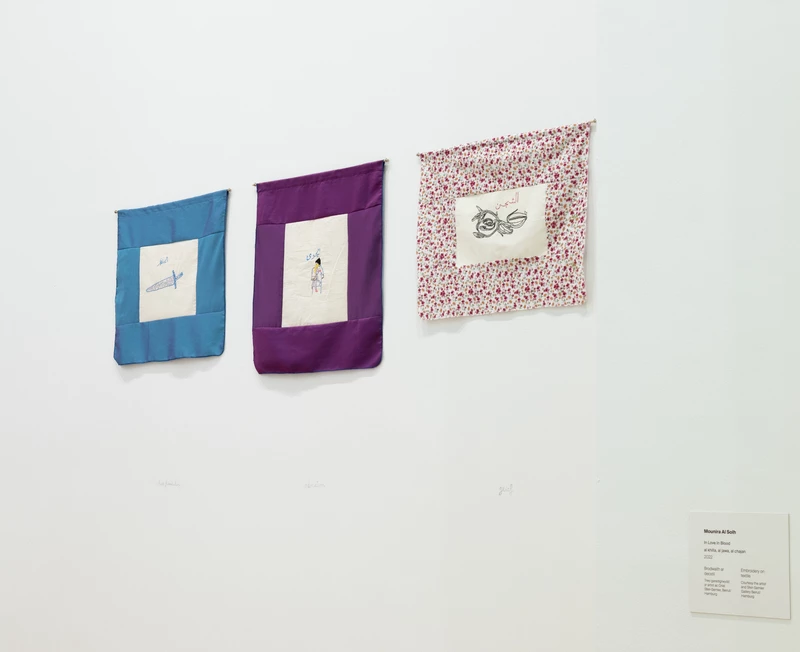
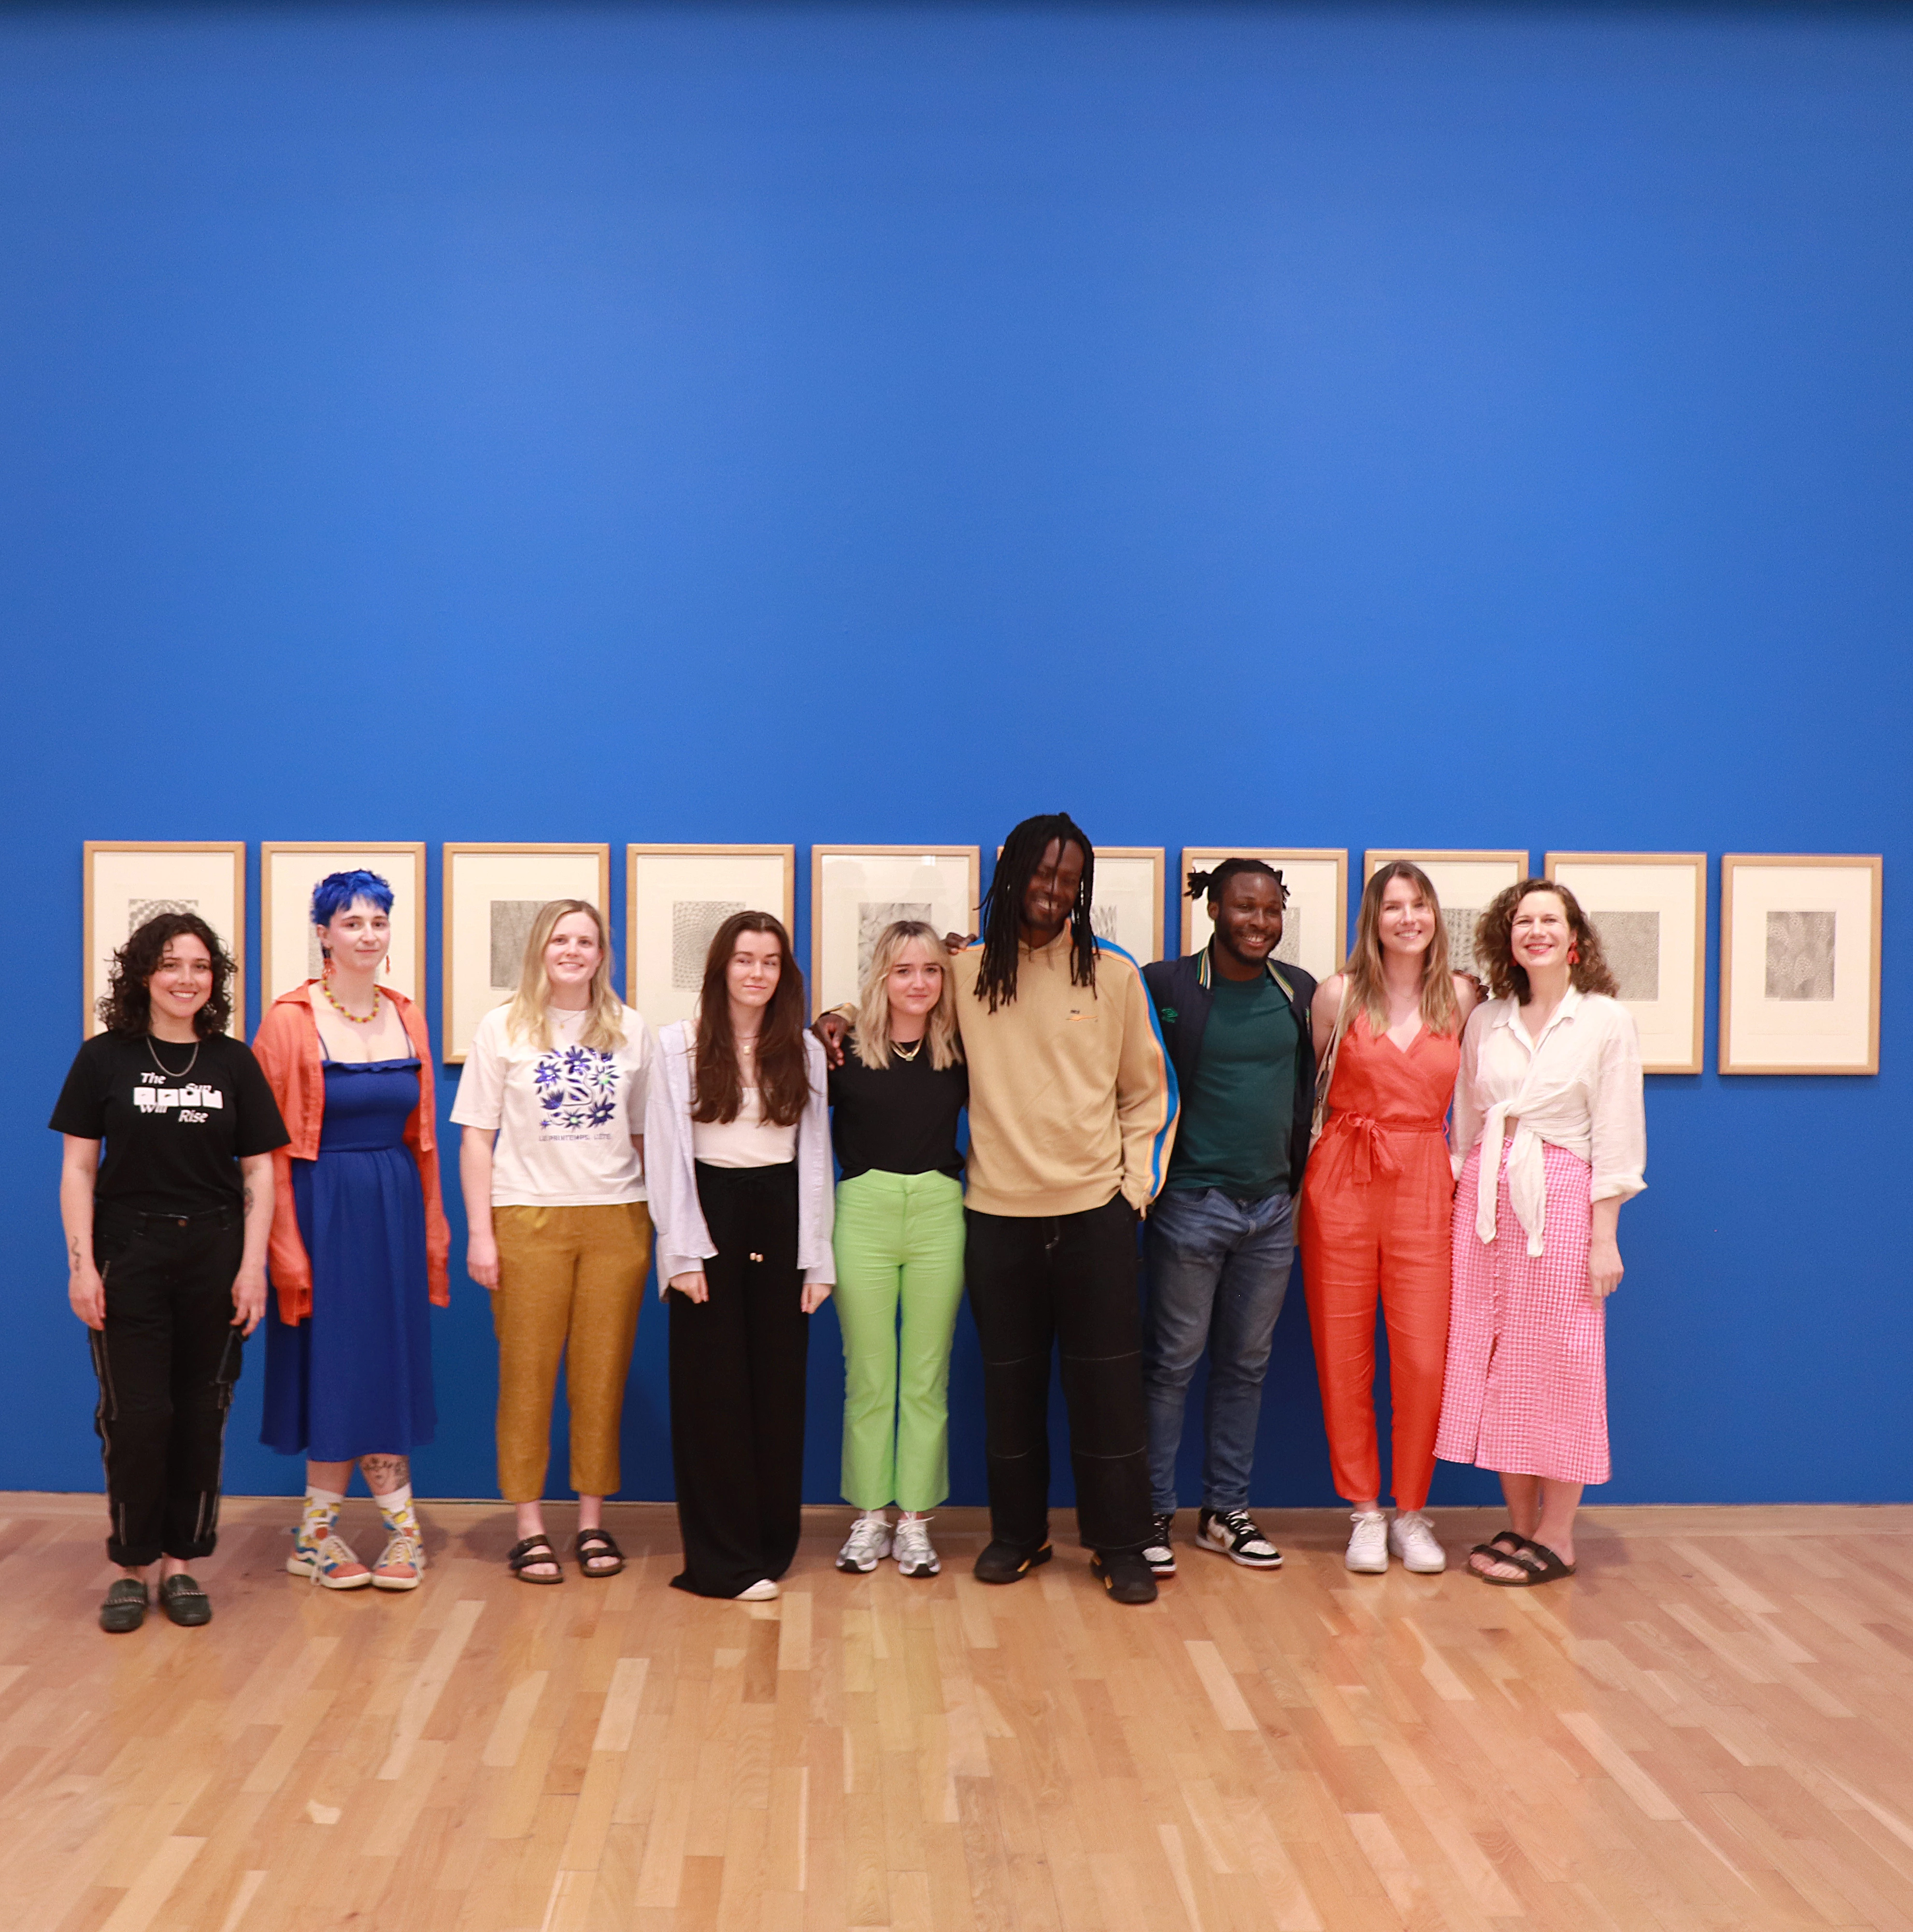
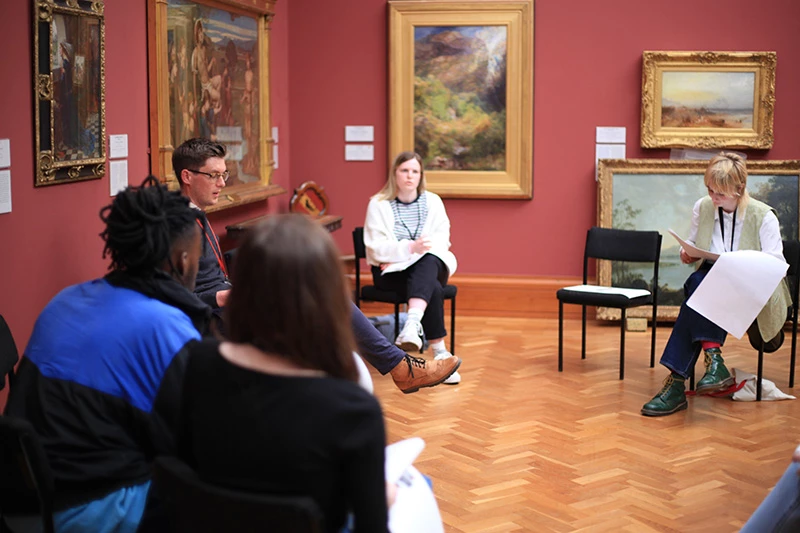
Stencil art is something that Artist Kyle Legall is an expert in, take a look at the step by step guide showing how he created this piece depicting Welsh band the Super Furry Animals.
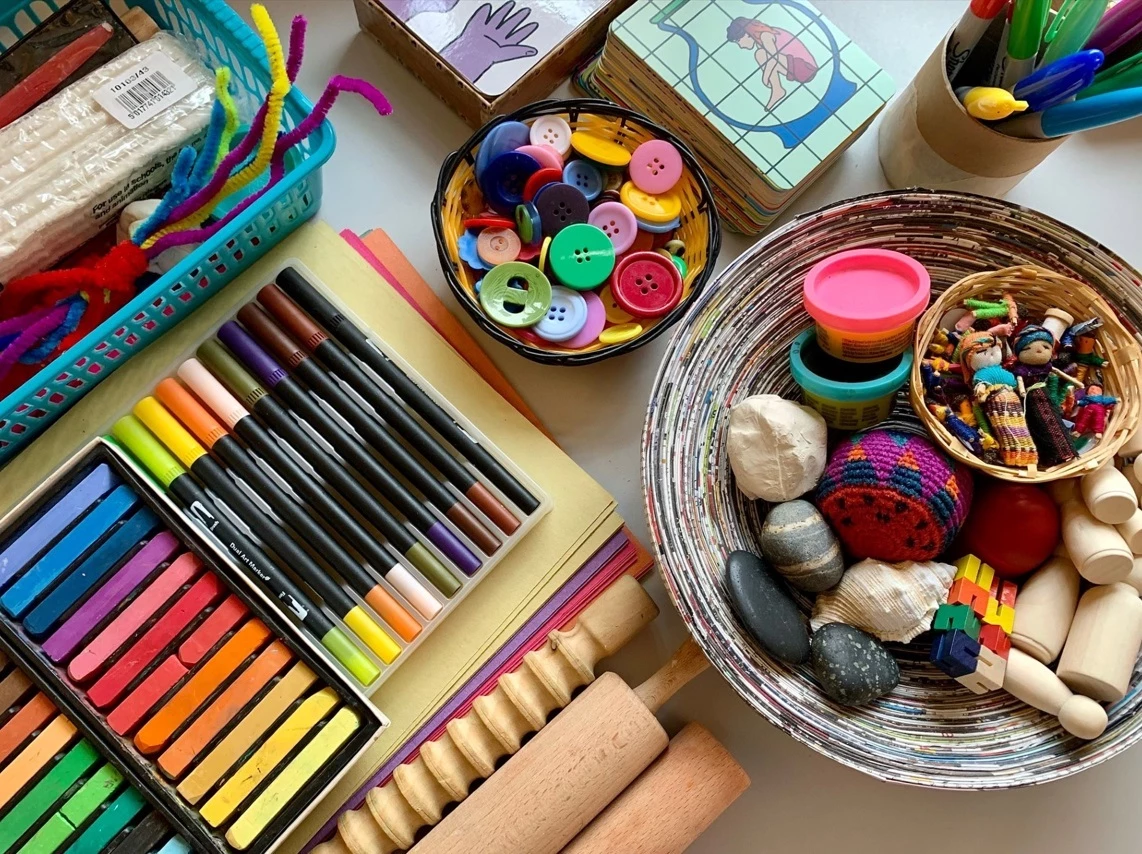
Materials
I used Montana graffiti spray paint. A thin plastic, paper, card or vinyl and a simple craft knife, which I have padded over the years for comfort and ergonomics. The reason I cut stencils is so that they can be reused again and again. I prefer a heavy vinyl material to create the stencil, because paper can become pretty brittle with intricate designs. But depending on how many times you wish to use a stencil, paper or card will do. Top tip: use a sharp craft knife, if you make a mistake and accidentally cut through your stencil - you can always repair it with some sticky tape! And this will strengthen your stencil in some cases.
Step 1. Choosing an image
I was inspired by the thought of doing something contemporary, like an album cover for a Welsh rock ‘n’ roll band. Firstly looking at the photograph of the band taken by Sophie Keyworth, I was wondering how I could recreate something that has my style of artistry. The photo seemed very calm with the band sat anticipating their gig. Knowing the Super Furry Animals and their music, I wanted to add the dynamics of the live stage performance to my design somehow, without changing the image too much. Watching their music videos I was inspired by the super furry yeti costumes that they end their show with, and thought this would be a fantastic feature to incorporate. It is important to me to add my imagination to whatever I am illustrating.
Step 2. Sketching out your idea as a design
I start off by sketching out the band but instead of them sat on the couch, I draw them standing up with their instruments. Once I have the shape and dynamics of their poses I am able to add the fur of their yeti costume and details. I use a blue pencil and then once it’s correct I’m able to outline in a black sharpie.
Step 3. Highlighting the line drawing to create a stencil
Use a sharpie to make a line drawing by tracing over your original sketch in black. At this stage I am able to correct any mistakes that have been made within the drawing, such as posture and details. Once the line drawing is made, you’ll be able to see what the final stencil will look like.
Step 4. Cutting out the negative space
This was a very intricate line drawing, not all line designs have to be this thin. You could opt for a fatter line within your drawing, making it easier to cut. But the idea is to cut away the black line leaving gaps, so that it does not fall apart. This is a very tricky process, but with patience and a delicate hand I persevered. It is important that you do not cut away the whole drawing as the stencil will just fall apart. I’ve discovered a technique where the lines never touch each other. So for example, I am able to draw the arm of the character, but being careful not to cut the full arm out, I leave gaps so that the line is visibly cut out but still attached to the body of the drawing, so the cut is effectively not complete, almost perforating away the drawing.
Step 5. Spray painting stencil
I was able to choose different surfaces to paint upon. My usual go-to is a plain white Tshirt as the colours stand out brighter, more vibrant and retain their colour for longer. I also chose a black swivel chair to demonstrate different techniques and finishes on alternative surfaces, rather than an ordinary canvas, as graffiti is often found in the most strangest of places. Putting my stencil carefully upon my surface I'm going to paint, making sure that none of the edges are poking up or being bent. I then choose a light colour to make a quick impression of my design. I then take the stencil off and colour the characters in freehand, using a bit of card to mask the paint as I go. Once I am happy with that I put the stencil back on top, in the same place spray-painting a black outline to finish it off